Vyond Improvement Secrets Part 3: Creating Custom Gradients for Scenes
An example of a scene with a spotlight from Christo gets Grounded by Francisco Universe
If you wonder what does gradients do for vyond, this will help you to improve your vyond videos so it look professional and clean. Since gradients are so important to the scenes, you may try these tutorials how to make a gradient and your own customized gradient content!
Methods of Making Gradients
1. Basic Gradient
1. Color the blank background with desired color you like.
2. Go to props and search spotlight, click the spotlight that mentioned by the red box.
3.The spotlight seems small though.
Let's make it bigger, select the squares and make it bigger until full.
6. Save the your custom and rename it!That's quiet simple though, and very easy, anyways, let's proceed to the next method.
2. Gradient Over Pattern
1.Go to background and go to patterns, click the pattern that you like. As you seen in the picture, the color seems a little bit dull.
2. Recolor the pattern with the brighter color or any brighter colors.
3. Go to the props and select the spotlight as the red box mentioned.
4. Resize the spotlight until become full.
5. Change the spotlight color into brighter color.
6. Save the your custom and rename it!
Methods of Making Custom Gradients for Scenes
Method 1: Using a single gradient or one spotlight
2.Resize the spotlight crops and change into different brighter color. If it is white, just let the base background into gray or different color instead.
3. Save the gradient and rename it according to the colors.
Method 2: Using two gradients
1. Go the props and click spotlight as mentioned in the red box.
2.Resize the spotlight crops and change into different brighter color.
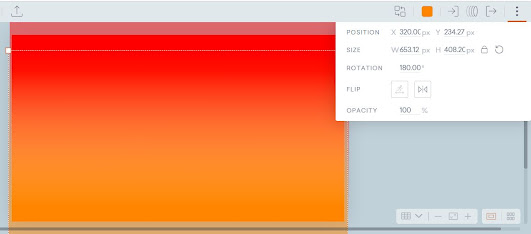
3.Copy the red spotlight and paste (ctrl+v) and change it into different brighter color. Rotate it to 180 degrees.
4. Select all the two spotlight and Click Group the two spotlights so it wont seperated when you copy to the finish product of the scene.
Method 3: Using Transparent Rectangle Covered by Gradient
This is very important for darker scenes though.
1. Go to the props and select the black rectangle.
2. Resize the Rectangle
3. Search the props and search spotlight.
You can select on other assets by clicking the film icon!
4. Resize the spotlight and change the color into different color.
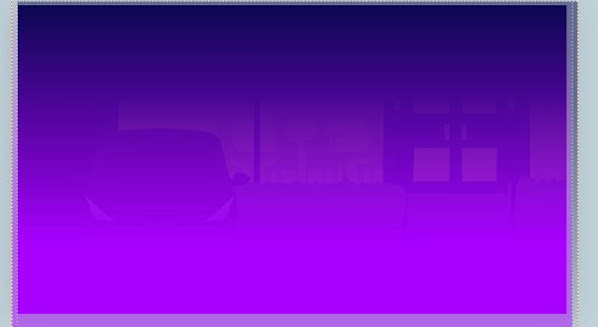
5. Copy and paste (ctrl+v) the darker spotlight (not the rectangle), drag and turn it into 180 degrees.
6. Select all the assets, right click, and click group.
7. Save it and rename the custom gradient according to the color.
Here are some other examples you may try with:
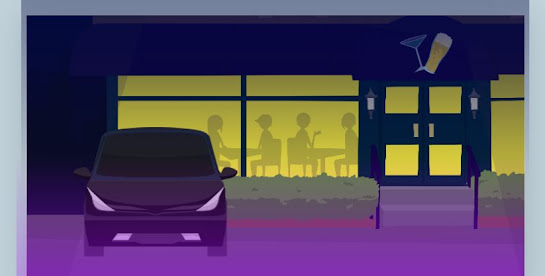
City Nighttime at 4:00 am (Not Ukraine)
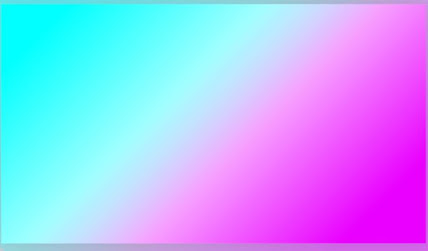
Neon Party
Sunset
Too brighter ones are for these in cyberpunk eras (somewhere a lot of lights in one room!?)
When the darker colors and lighter colors stick together
Okay, good for seeing characters and objects in the screen in the video. The darker colors and lighter colors separated a little bit. (Inspired by Omid, but I hate his behavior though.)
When darker was on the full screen but the lighter one went down (Good for darker scenes)
When lighter colors goes up and the dark was slightly up and lost it's darkness
Don't you ever hesitate by just separate even farther between two spotlighted colors! They will lose its cool and reflection!
If you wonder that you will custom your gradients by make the reflection and effect even less brighter and make more easier to use...
1. Go to your a video collection of scenes and pick one color. Select continue scene to copy.
2. Click edit group and drag a little far between two spotlight colors.
3. Save the scene and rename the gradient according to the color.
Proportions of the Scene Gradients
Here are some proportions of the gradients you need to try!
1. Single Gradient
2. Two Gradients
Make sure that all your presets are saved!
Stay tuned how to use customized gradients for scenes!
Other tutorials from Glyris
Tutorials by Vyond
Examples to Watch!
Other tutorials in Youtube you need to learn!


Comments
Post a Comment